Everest Base Camp Trek : A Dream for Many
Mount Everest is the tallest mountain in the world. It stands high in the Himalayas, on the border between Nepal and Tibet. People from all around the world dream of seeing it up close. But not everyone wants to climb to the top — and that’s okay! Many people just want to trek (or hike) to a special spot near the bottom called Everest Base Camp. This is where real climbers prepare before they try to reach the summit.
🗓️ Best Time to Trek to Everest Base Camp (EBC)
There are two main seasons when most people go trekking to Everest Base Camp:
- Spring (March to May)
- Autumn (September to November)
Let’s break it down in easy terms:
🌸 Spring Season (March to May)
- Weather: It gets warmer every day. Days are sunny and pleasant, but nights are still cold.
- Views: The sky is usually clear, so you get amazing views of the mountains.
- Nature: You’ll see colorful flowers (especially rhododendrons) blooming along the trail.
- Crowds: This is a popular time, so the trails and tea houses (places to stay) can get busy.
🍂 Autumn Season (September to November)
- Weather: Cool and dry — perfect for walking. Not too hot, not too cold.
- Views: Very clear skies. Great mountain views.
- Crowds: Also a popular time, so expect other trekkers on the trail.
🌧️ Off-Season Trekking (Winter & Monsoon)
❄️ Winter (December to February)
- Weather: Very cold, especially at night. Some places might close because of snow.
- Views: Still clear and beautiful.
- Pros: Fewer people, so it’s peaceful.
- Cons: Freezing temperatures and possible trail closures.
🌧️ Monsoon (June to August)
- Weather: Lots of rain. Trails are slippery and leeches (small insects) are common.
- Views: Often cloudy, so mountain views are blocked.
- Pros: Very few people. The trail is quiet and green.
- Cons: Dangerous landslides, flight delays, and bad visibility.
📝 Summary:
- Spring and autumn are the best times to go — good weather, great views.
- Winter is okay if you can handle the cold.
- Monsoon is not recommended because of heavy rain and poor visibility.
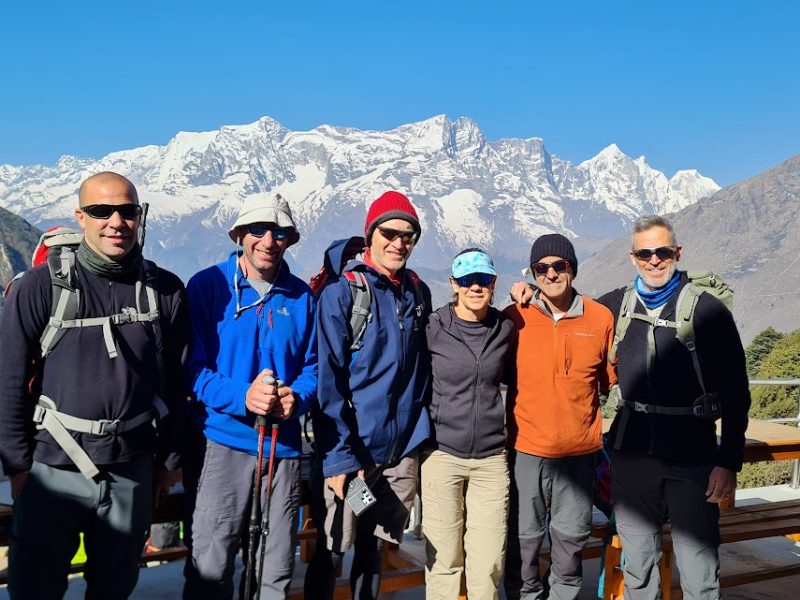
🌄 The Classic Route to Everest Base Camp – Easy Explanation
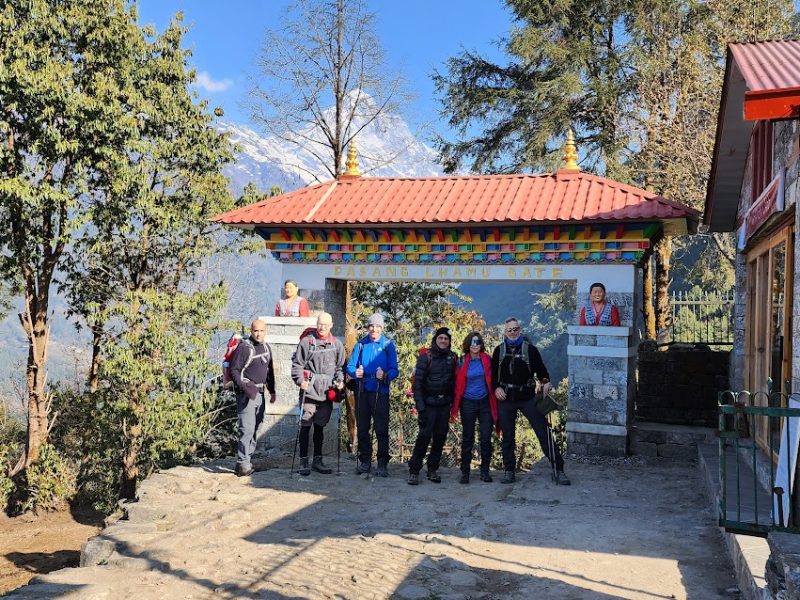
📍 Starting Point: Lukla
You begin your journey by flying into a small mountain town called Lukla. The plane lands on a short runway high in the mountains. From here, you start walking.
🗓️ Day-by-Day Walk (Trek)
- Day 1: Lukla to Phakding
– You walk downhill a bit.
– It’s a nice and easy first day to help your body get used to walking.
– Sleep in Phakding.
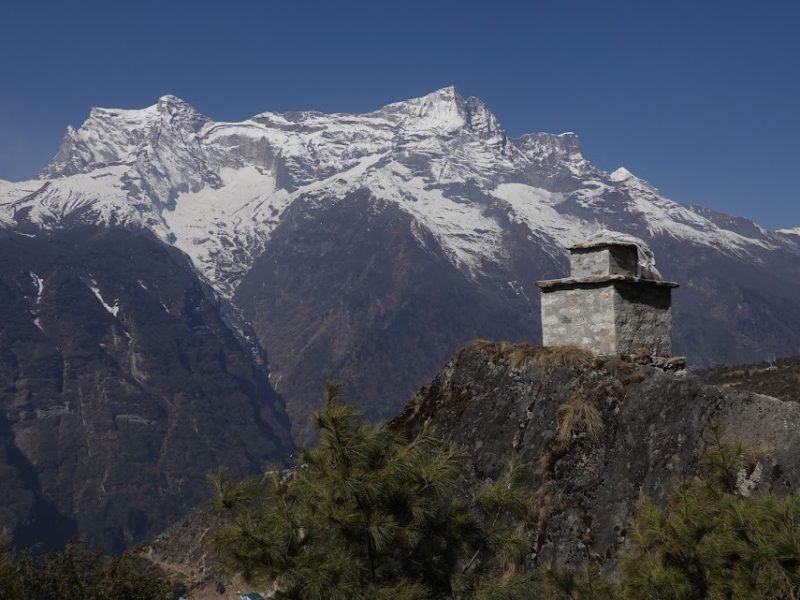
- Day 2: Phakding to Namche Bazaar
– You walk uphill and cross several hanging bridges.
– Namche is a busy little mountain town.
– You sleep here and take one day off to rest and get used to the thin air.
- Day 3: Rest Day in Namche Bazaar
– You stay one more day to adjust to the higher altitude.
– You can go for a short walk to nearby viewpoints.
- Day 4: Namche to Tengboche
– You walk through forests and then climb up to Tengboche.
– There’s a famous monastery here with amazing mountain views.
- Day 5: Tengboche to Dingboche
– Trees start to disappear.
– You now walk through more open, rocky land.
– Dingboche is higher, so you stay here for another rest day.
- Day 6: Rest Day in Dingboche
– Again, this day helps your body adjust to the thin air.
– You can take a short hike to higher ground and come back.
- Day 7: Dingboche to Lobuche
– You walk past memorials for climbers and reach Lobuche.
– It’s colder and the air is thinner.
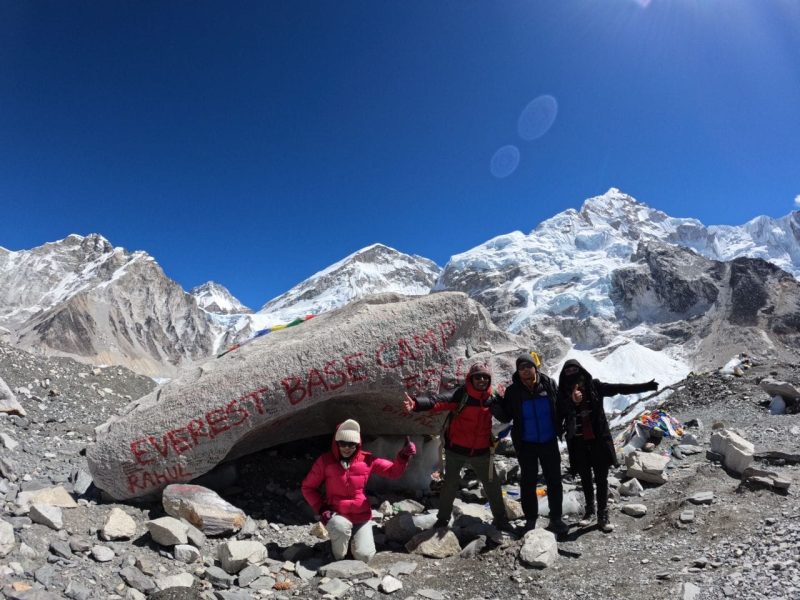
- Day 8: Lobuche to Gorakshep and Everest Base Camp
– You walk to Gorakshep and drop your bags.
– Then you hike to Everest Base Camp!
– After enjoying the view, you return to Gorakshep to sleep.
🏔️ Altitude & Terrain
- Starting Altitude (Lukla): 2,860 meters (9,383 feet)
- Highest Point (Base Camp): 5,364 meters (17,598 feet)
Terrain:
- You walk through forests, over rivers, past villages, and then into rocky and snowy land.
- The higher you go, the less green things you’ll see.
- The air gets thinner as you go higher, which makes it harder to breathe.
🌟 Optional Detours (If You Have Extra Time or Energy)
- Gokyo Lakes:
A side route takes you to beautiful blue lakes and a high pass called Cho La. It adds extra days, but it’s stunning.
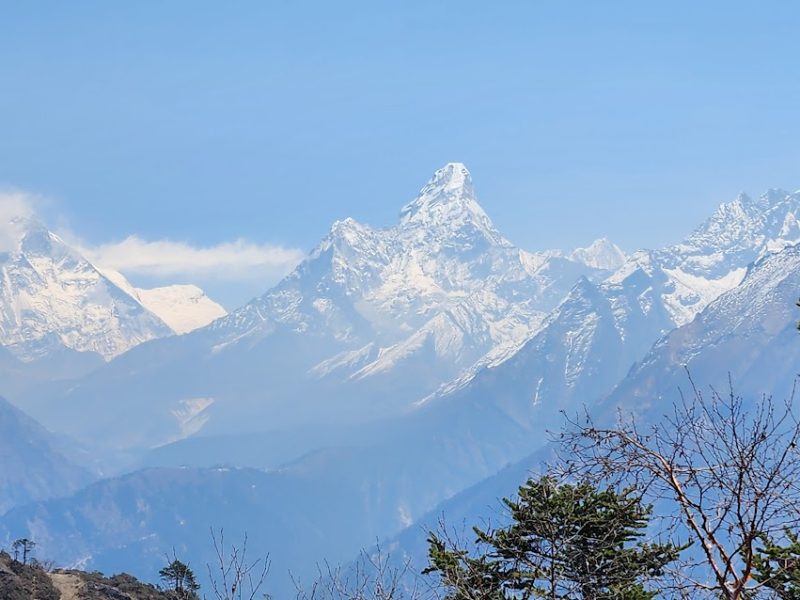
- Kala Patthar:
This is a hill above Gorakshep where you can see Everest very clearly, especially at sunrise. It’s cold and dark in the early morning, but the view is worth it.
🏃♂️ Fitness & Preparation: Are You Ready?
✅ Physical Fitness Requirements & Training Tips
Before going on a high-altitude trek (a hike in the mountains where the air is thinner), your body needs to be in good shape.
- You don’t need to be a super athlete.
- But you should be able to walk for several hours, often uphill, carrying a backpack.
- Practice walking on hills or stairs. If that’s not possible, walk every day—longer each week.
- Add some strength exercises like squats and lunges (to make your legs stronger) and core exercises (like planks) to help with balance.
- Try hiking with a backpack so your body gets used to the weight.
🎈 Dealing with Thin Air: Acclimatization & Altitude Sickness
As you go higher, there’s less oxygen. Your body needs time to get used to it.
- This process is called “acclimatization.”
- Go slowly—don’t climb too fast. Rest every few days at the same height.
- Drink lots of water and eat well.
- If you feel dizzy, tired, or get a headache, tell someone. These can be signs of altitude sickness.
- Severe symptoms include throwing up, trouble walking, or confusion—if this happens, go down right away!
🎒 What to Pack: Essentials for the Trek
You don’t want to carry too much, but some items are really important.
Here’s a basic checklist:
🧥 Clothing:
- Warm layers (it gets very cold at night)
- Waterproof jacket and pants
- Comfortable hiking shoes
- Gloves, hat, and sunglasses
🎒 Gear:
- Backpack (lightweight, good support)
- Trekking poles (help with balance)
- Headlamp or flashlight
- Sleeping bag (if staying in tents or lodges)
💊 Medications & Health:
- Painkillers (for headaches or soreness)
- Medication for altitude sickness (like Diamox, if advised by a doctor)
- Band-aids and blister pads
- Water purification tablets or a filter
- Sunscreen and lip balm (the sun is stronger up high)
👣 Tips for First-Time High-Altitude Trekkers
- Go slow. Even if you feel strong, don’t rush.
- Take breaks often.
- Eat and drink more than usual.
- Stay positive—your mindset matters.
- Listen to your body. If something feels wrong, speak up.
Accommodation and Food on the Trail – Easy Guide
🏠 What to Expect from Teahouses and Lodges
When you go trekking in places like Nepal (such as the Everest or Annapurna regions), you don’t need to carry a tent or cook your own food. Along the trail, you’ll find small places to stay called “teahouses” or “lodges”.
Here’s what they are like:
- They are small guesthouses run by local families.
- You usually sleep in a basic wooden room with 2 single beds and thin mattresses.
- The rooms often don’t have heating, so it can get cold at night. Bring a warm sleeping bag!
- Bathrooms are shared. Some may have squat toilets, and hot showers might cost extra.
- There’s usually a dining room where trekkers gather to eat, warm up, and chat.
So, teahouses are simple, cozy places where you can eat, sleep, and meet other trekkers.
🍛 Local Food Options and Hygiene Tips
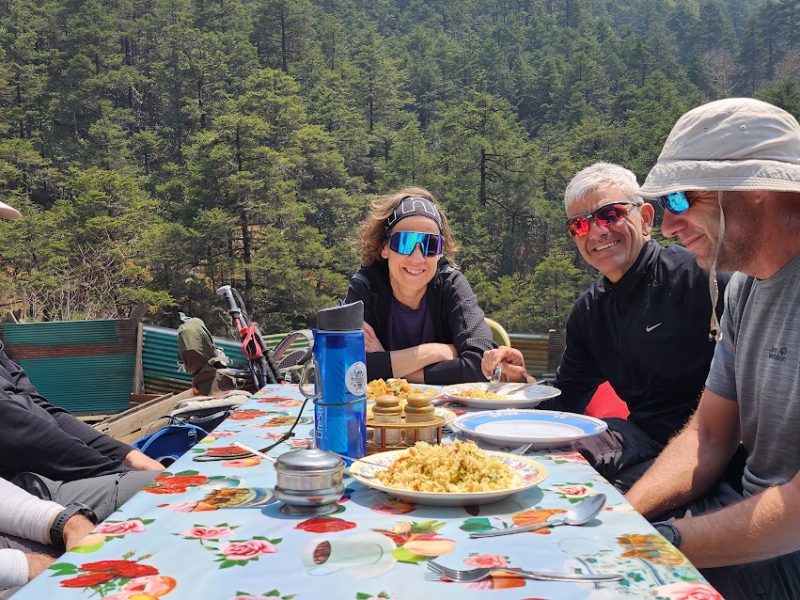
Teahouses offer food too. It’s simple but filling. Here’s what you might eat:
- Dal Bhat: The most common meal – rice, lentil soup, and vegetables. You usually get free refills!
- Noodles, pasta, fried rice, soups, pancakes, eggs, and momos (Tibetan dumplings) are also popular.
- Hot drinks like tea, coffee, and hot lemon are common.
Hygiene Tips:
- Always drink boiled or treated water. Don’t drink from taps or rivers.
- You can use water purification tablets or a filter bottle.
- Bring hand sanitizer and use it before eating.
- If you have a sensitive stomach, avoid meat in higher villages – it might not be very fresh because there’s no refrigeration.
💰 Costs of Food and Lodging on the Trek
Prices go up the higher you climb because everything has to be carried up by mules or porters.
Here’s a rough idea:
- A room in a teahouse: $10 to $70 per night (some places may let you stay for free if you eat dinner and breakfast there).
- Meals: Around $10 to $15 each.
- Hot shower: $5 to $7.
- Wi-Fi or charging electronics: $2 to $5 extra (some places may not have electricity all the time).
🛂 Permits You Need
Before you can start trekking to Everest Base Camp, you need two permits:
- TIMS Card (Trekkers’ Information Management System):
- This is a basic permit for all trekkers in Nepal.
- It helps track trekkers for safety.
- Cost: About $20 if you’re trekking with a guide; more if you’re solo.
- Sagarmatha National Park Permit:
- This is needed because Everest is inside this national park.
- It goes towards preserving the environment and wildlife.
- Cost: Around $30.
You can get these permits in Kathmandu or in Monjo (on the trail).
🧭 Guided Trek vs Independent Trek
There are two ways to do the trek:
1. Go With a Guide or Tour Company
✅ Pros:
- Easier – they arrange everything (permits, flights, hotels).
- Safer – guides know the trails and what to do in emergencies.
- More cultural info – guides explain what you see.
- Porters carry your bag (you just carry a small backpack).
❌ Cons:
- Costs more.
- Less freedom – your schedule is planned.
2. Trek Independently (on your own)
✅ Pros:
- Cheaper.
- More freedom to choose your pace and stops.
❌ Cons:
- More planning needed.
- Can be risky if you get lost or sick.
- You carry your own gear unless you hire a porter.
📝 Important: As of recent years, some areas in Nepal now require you to have a licensed guide for safety. Always double-check current rules before going.
💰 Costs & Hiring Help
- Local Guide: $25–$35 per day.
- Porter (carries your bag): $15–$25 per day.
- Trekking Company Package: $1,200–$2,500 (includes guide, porter, permits, some meals, hotels, Lukla flight, etc.)
🌄 Final Thoughts: How the Trek Changes You
🧠 Emotional and Mental Takeaways
Going on a big trek, especially in nature or to a sacred place, does more than just tire your legs. It changes how you feel inside. Many people say they feel calmer, stronger, and more grateful. When you’re walking through mountains or forests, away from phones and busy city life, your mind gets quiet. You start to think more clearly and feel more connected — to nature, to others, and to yourself.
💬 Stories from Trekkers
Many trekkers have shared how the journey changed them. Some cried tears of joy at the top of a peak. Others felt proud for finishing something so tough. One person said they finally found peace after years of stress. Another said the silence of the mountains helped them hear their own thoughts for the first time in a long while. Everyone’s story is different, but most agree: it’s not just a walk — it’s something that stays with you forever.
💪 Encouragement for Future Adventurers
If you’re thinking about going on a trek, do it! You don’t need to be super fit or experienced. You just need the will to try. The path might be hard, but it will teach you patience, courage, and self-belief. Don’t worry if you’re scared — that’s normal. Every step is worth it. And who knows? You might come back not just with great memories, but with a stronger heart and a clearer mind.


